
Last updated November 2, 2026
 Wrought iron
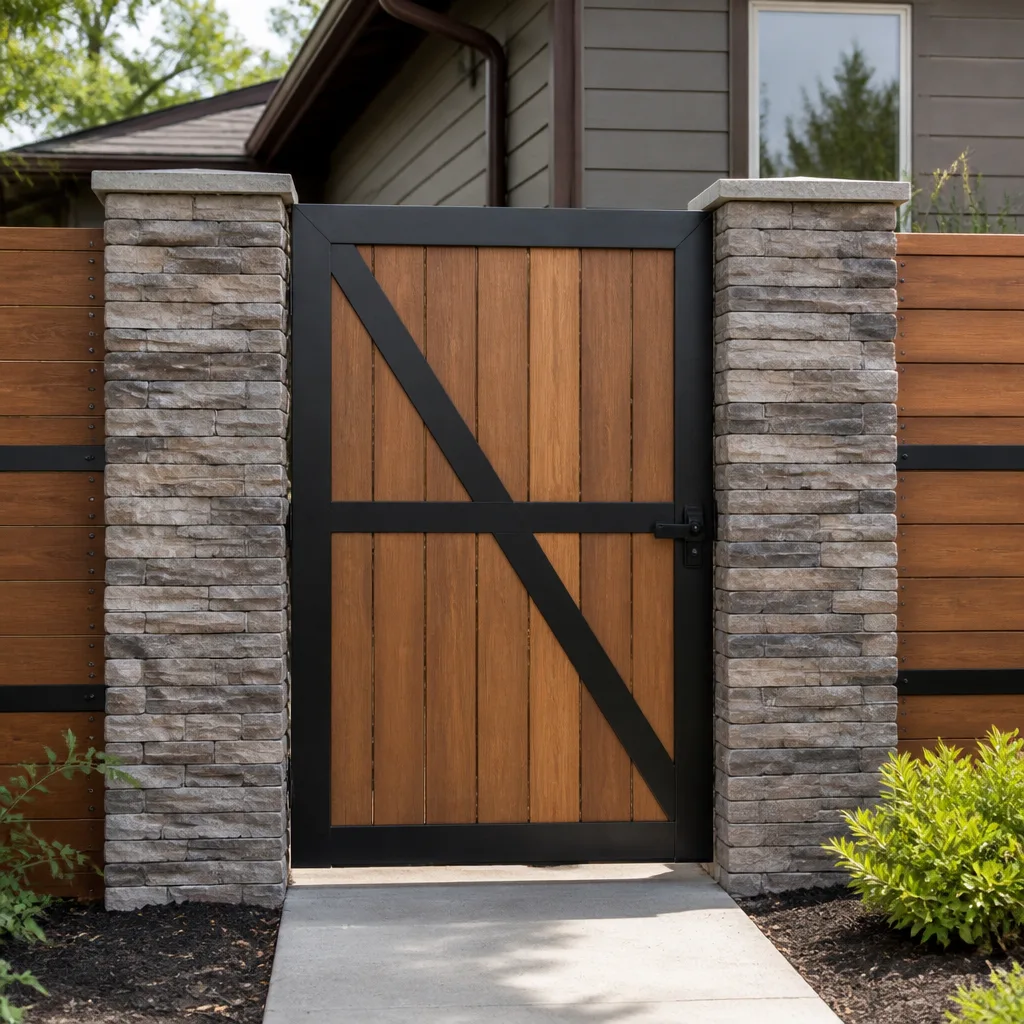 Wood & steel frame
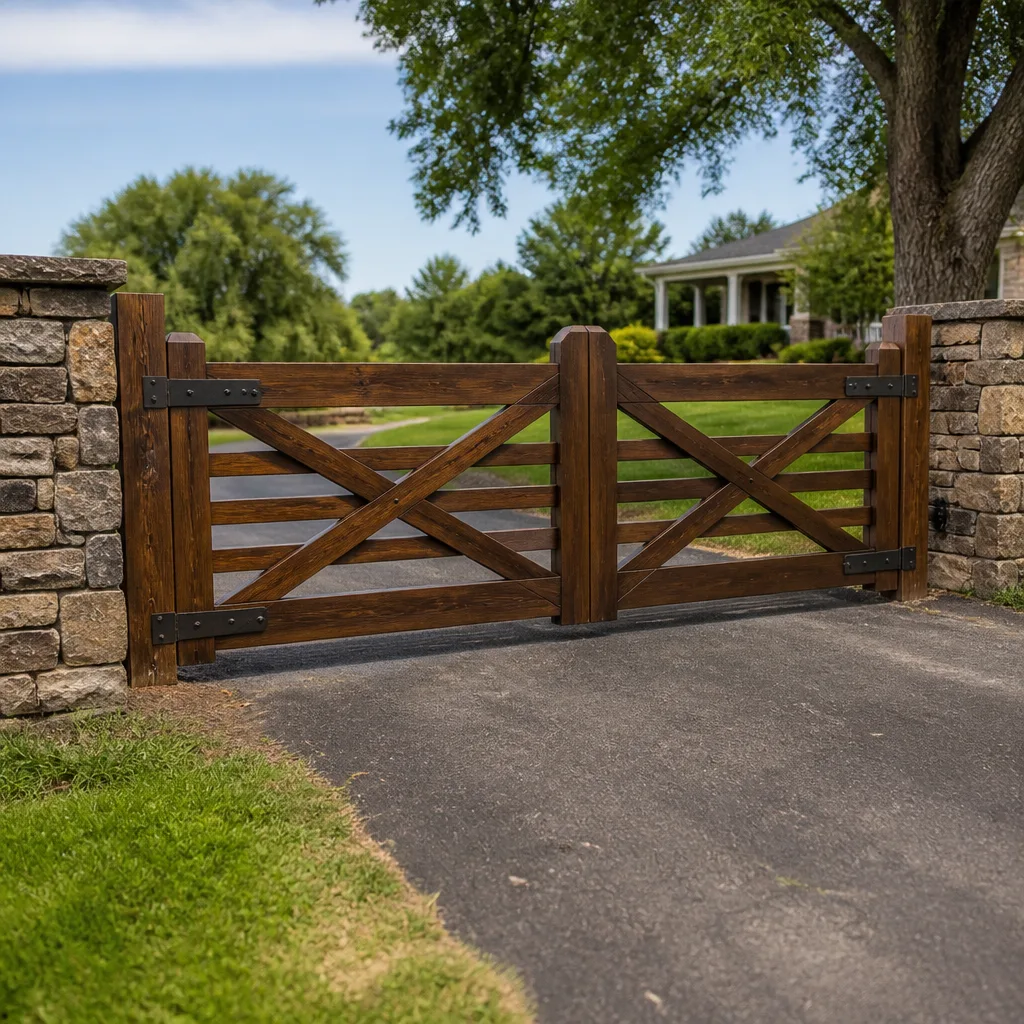 Farm & ranch
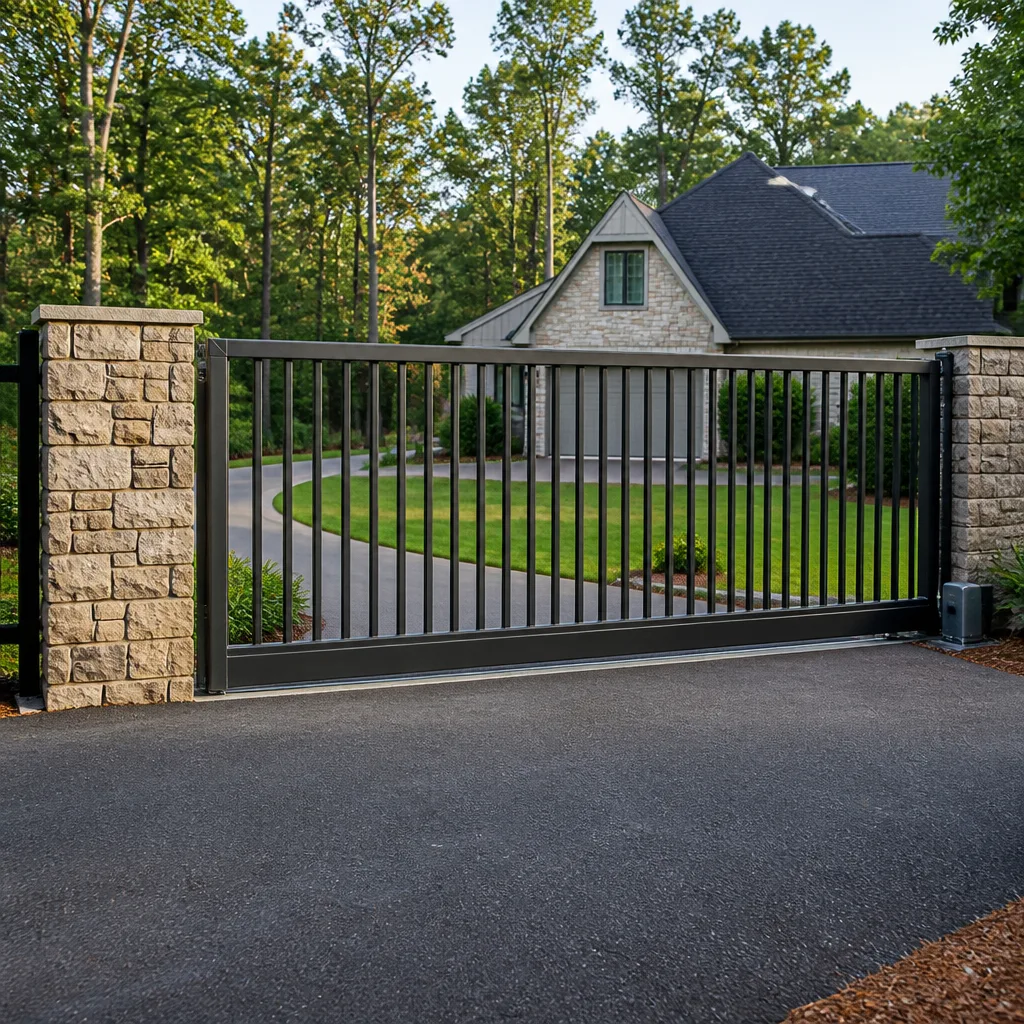 Sliding driveway gates
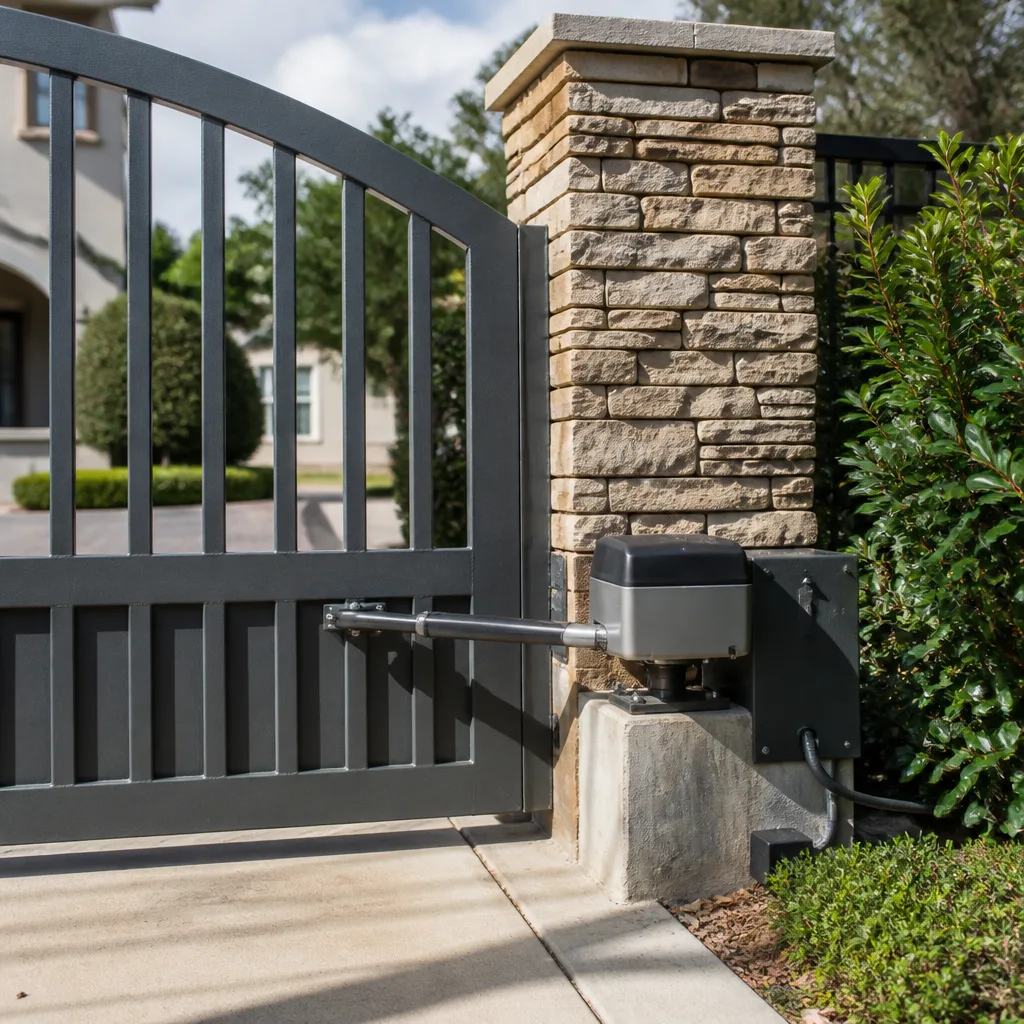 LiftMaster operators
Free on-site gate assessment - hinges, posts, and your LiftMaster or Nice gate operator checked before anything is quoted
The assessment is free and the quote is the invoice.
Get your free estimateGate Repair Troubleshooting: Common Problems and How to Fix Them
Most gate repair guides open with “check the power supply” and end with “call a professional.” That’s not troubleshooting. That’s stalling. A gate that reverses before fully closing almost never has a mechanical problem. The fix is almost always a miscalibrated obstruction sensor, which most homeowners replace hardware to avoid. Replacing a $15 sensor when the real issue is a magnet alignment three degrees off is the difference between a $40 fix and a $400 parts cannon. This guide walks through the branching logic a technician actually uses when standing in front of a dead gate in Citrus Heights, where summer heat warps chain tension and winter rain finds every unsealed wiring splice. You’ll learn how to isolate a bad control board from a bad limit switch, decode the blink patterns on LiftMaster and Mighty Mule operators, and know when a fix is genuinely beyond a Saturday morning.
Styles & brands we work with
- Wrought iron
- Wood & steel frame
- Farm & ranch
- Sliding driveway gates
- LiftMaster operators
Quick Answer
Gate repair troubleshooting breaks down into three decision paths: the gate won’t move at all (power, capacitor, or operator failure), it moves partially then stops (limit switch calibration, obstruction sensor, or mechanical binding), or it moves fine but the remote and keypad don’t respond (receiver, antenna, or programming issue). Start with the operator’s LED diagnostic lights before touching any hardware. Most no-move failures trace to a tripped GFCI, dead capacitor, or blown low-voltage fuse, not the motor itself.
Table of Contents
- The Safety Check Before Anything Else
- Decision Path 1: The Gate Won’t Move at All
- Decision Path 2: The Gate Moves Partially, Then Stops
- Decision Path 3: The Gate Works but the Remote and Keypad Don’t
- Reading the Blink Codes: What LiftMaster, Mighty Mule, and US Automatic Are Actually Telling You
- Swing Gate With Hydraulic Operator: The Overlooked Pre-Check
- When a Previous “Fix” Made Things Worse
- Obstruction Sensors and Safety Edges: The Misdiagnosis Capital of Gate Repair
- Common Mistakes to Avoid
- When to Call a Professional
- Frequently Asked Questions
- The Bottom Line
The Safety Check Before Anything Else
Before you open a single panel or loosen a bolt, there’s one step that matters more than all the diagnostic work combined: disengage the operator. Every automatic gate system has a manual release mechanism. On swing gates, it’s usually a lever or key on the operator arm. On slide gates, it’s often a pull chain or release handle near the motor. Pull it. Now push the gate by hand through its full travel.
Why this matters: if the gate binds, grinds, or resists while fully disengaged, you have a mechanical problem, not an electrical one. No amount of control board fiddling fixes a bent track or a hinge that’s been slowly seizing for two years. In Citrus Heights, we see slide gates with rollers so worn from sun-baked dirt and grit that the gate drags hard enough to trip the obstruction sensor every time. The owner thinks the sensor is broken. The sensor is working perfectly. The gate is just too hard to move.
This test takes sixty seconds and halves the diagnostic tree immediately. Manual gate moves freely? Electrical or control issue. Manual gate fights you? Mechanical failure, and the operator may have been overworking itself for months trying to muscle a gate that got progressively harder to operate. That’s why a motor that was fine last spring dies in August: it wasn’t fine. It was straining.
Decision Path 1: The Gate Won’t Move at All
Dead gate. No hum, no click, no movement. Here’s the exact sequence to work through, in order:
- Check the operator’s power LED. If it’s dark, the operator has no power at all. This isn’t a control board problem yet.
- Reset the GFCI outlet. Gate operators in Citrus Heights are frequently wired to exterior GFCI outlets. Heavy rain, a sprinkler splash, or a power blip trips them. Press the reset button. If it clicks and the gate comes back to life, you’re done. This is the single most common “dead gate” cause we see on residential calls.
- Check the breaker. If the GFCI won’t reset, check the dedicated circuit breaker in your main panel. Gate operators should be on their own breaker. If it’s tripped and trips again immediately on reset, stop. You have a short, not a nuisance trip.
- Listen for a hum. If the operator hums but the gate doesn’t move, you have a capacitor failure. The start capacitor gives the motor its initial torque. When it dies, the motor stalls and hums. This is a $30 part that takes a technician fifteen minutes to swap. It also mimics a dead motor so convincingly that homeowners sometimes replace the entire operator unnecessarily.
- Check the low-voltage fuse. If the main power LED is on but nothing responds to any input, look for a blown glass fuse on the control board. Most residential operators have one. It’s there specifically to die before the board does.
A note on brands: Electric gate repair work on LiftMaster operators shows a particular pattern. The main power LED will stay lit even when the internal transformer has failed, because that LED runs on a separate low-voltage circuit. If you have power in but nothing out and no hum, suspect the transformer before the board.
Citrus Heights context: our summer heat is hard on capacitors. A capacitor that’s five or six years old and exposed to weeks of 100-degree afternoons is living on borrowed time. If your gate dies in late August and the motor hums, that’s your answer roughly eight times out of ten.
Decision Path 2: The Gate Moves Partially, Then Stops
This is the most frustrating pattern for homeowners because the gate works… until it doesn’t. It opens halfway and stops. Or it closes eight feet short. Or it reverses direction without touching anything. The instinct is to blame the motor. The motor is rarely the culprit.
Here’s the branch a technician follows:
Is it stopping at the same spot every time?
Same spot, every time, consistent behavior. That’s a limit switch or limit calibration problem. The operator’s brain thinks the gate has reached its end of travel when it hasn’t. On older mechanical limit switch systems, the switch itself has physically shifted or worn out. On newer digital systems, the travel limits were set when the gate was new and something has changed since: a sagging gate, a new hinge, a post that shifted in wet clay soil. The fix is recalibration, not replacement. It takes longer to get the manual in hand than it does to reprogram most residential operators.
Does it stop at unpredictable points?
Random stops, especially on windy days or when the sun hits a certain angle, point to the obstruction sensor circuit. The sensor isn’t seeing an obstruction. It’s seeing a false signal from a loose connection, a pinched wire, or an infrared beam that’s drifting out of alignment. The operator interprets any disruption to that circuit as “something is in the way” and halts or reverses.
In Citrus Heights, photoelectric sensors on slide gates are especially prone to misalignment because the ground shifts through wet-dry cycles. A concrete pad poured in January sits in slightly different soil in July. The sensor post moves a fraction of an inch. The beam misses the reflector. The gate refuses to close at night when the beam is hardest to align by eye.
Does it reverse only near full close?
Gate reverses just before it seats into the closed position. Almost every time, this is the safety edge or obstruction loop seeing resistance as the gate nears the closed stop. A worn roller, a buildup of debris in the track, or a warped section of gate frame increases resistance at the exact point where the gate should settle. The operator reads the increased motor current as an obstruction and reverses. The gate is not broken. The track is dirty. Clean it, or have the rollers replaced.
One more pattern worth mentioning: intermittent partial travel that matches high-temperature afternoons. Heat expands the gate frame. A gate that was cutting it close on clearances in winter binds in summer. If your swing gate opens fine at 8 a.m. and stops at 3 p.m., measure your clearances at mid-afternoon. You may have a hinge that’s out of alignment and a gate that’s thermally expanding into interference.
Decision Path 3: The Gate Works but the Remote and Keypad Don’t
Gate operates fine from the manual controls. The remote does nothing. The keypad doesn’t beep. This narrows the problem to the radio receiver, the antenna, or the programming.
Work through these:
- Check the keypad first. If the keypad works and the remote doesn’t, the receiver and control board are fine. You have a dead battery, a lost programming code, or a failed transmitter. Replace the battery first. Re-learn the remote if that doesn’t work.
- Check if neither works. Both keypad and remote dead, but manual controls work? The receiver itself has failed, or its antenna connection is broken. On LiftMaster and FAAC residential operators, the receiver is sometimes a plug-in module. If it’s seated poorly or the antenna wire is frayed, the whole RF side goes dark.
- Look for new interference. We’ve taken calls in Citrus Heights where the gate remote worked for years and died the same week a neighbor installed a new wireless security system or a ham radio antenna. New RF interference sources can stomp on the frequency band your remotes use. If your remote range suddenly collapsed from 100 feet to 8 feet, look around the neighborhood for what changed.
- Test the antenna. A broken or corroded antenna wire cuts range dramatically. We’ve seen remotes that still work but only from inside the car, six feet away, pointing through the windshield. The receiver works. The antenna doesn’t.
Most remote failures are either batteries or reprogramming. Buy quality batteries. The dollar-store packs die fast and leak. And if you need to reprogram, have every remote on hand when you do it. Most systems erase all stored codes when you enter programming mode. You’ll lose the other remotes until you re-add them.
Reading the Blink Codes: What LiftMaster, Mighty Mule, and US Automatic Are Actually Telling You
Almost every residential operator made in the last twenty years has an LED that blinks in specific patterns to report conditions. These patterns are not random. They’re a diagnostic language, and they’ll tell you more than any amount of poking with a multimeter.
LiftMaster residential gate operators
LiftMaster gate operators typically use the control board’s diagnostic LED to blink out codes. The exact meaning varies by model, but the most common patterns on the LA400, LA412, and LA500 series are:
- Two blinks, pause, repeat: obstruction detected during operation. The gate met resistance it didn’t expect. Check the track, rollers, or hinges for binding. This is mechanical or sensor, not board failure.
- Three blinks: low battery condition if you have a battery backup, or an AC power interruption was logged. The gate is telling you it lost power at some point.
- Five blinks: the operator’s internal thermal protection tripped. This often means the gate was cycled too many times in a short window, or the motor was fighting a load too heavy for it. Let it cool and address the underlying resistance.
- Continuous rapid blinking: programming mode, or the operator is waiting for a limit setup. If you never touched anything and the light is flashing like this, a power surge may have cleared the programmed limits.
Mighty Mule operators
Mighty Mule systems tend to use a beep-and-light combination. Their FM series and MM series have slightly different interpretations, but the pattern holds:
- One flash, repeating: the operator is in auto-close waiting mode. Not an error. The gate is counting down to close itself.
- Three flashes at startup: the operator failed its self-test or the control board is not seeing the battery properly. Check battery connections first. Corroded terminals on Mighty Mule battery systems are extremely common in outdoor installations.
- Continuous beep on operation: obstruction or force limit reached. The Mighty Mule force adjustments are more sensitive than most and often need re-tuning as the gate ages.
US Automatic gate operators
US Automatic models, especially the Patriot and Sentry lines, use an LED on the board that reports state through blink count. The most useful one:
- Slow steady blink when idle: system is normal and armed.
- Fast blink during operation: the control board sees the gate moving. Also normal.
- No blink at all with power present: the board is not running its logic. This points to board failure, not a motor or wiring issue. Before condemning the board, check the fuse and the transformer output. We’ve replaced boards that were simply starving for voltage from a dying transformer.
The pattern here: operators speak in codes. Your operator’s manual has the full legend. If you don’t have the manual, the model number is on the outer case or the control board itself, and manufacturer PDFs are easy to find. Ten minutes of reading beats an hour of guessing.
For deeper brand-specific failures, Gate repair in Citrus Heights work on LiftMaster, FAAC, BFT, and Linear systems means we see recurring failure signatures across models. A specific capacitor fails on one LiftMaster series. A specific relay sticks on one BFT board revision. That pattern knowledge is what separates a gate specialist from a generalist who’s never opened your operator before.
Swing Gate With Hydraulic Operator: The Overlooked Pre-Check
Hydraulic swing gate operators like the FAAC 400, FAAC 750, or BFT hydraulic lines have a quirk that catches people off guard: they have a pressure relief valve, and it’s set at the factory for a specific gate weight and length. If your gate has been repaired, repainted, or reinforced over the years, it may be heavier than what the relief valve was set for.
When the relief valve pressure is too close to the operating pressure, the operator behaves erratically. It opens fine, stalls mid-close, and trips. Or it opens slowly, like it’s laboring, and then closes with a lurch. The oil inside the hydraulic piston is doing exactly what the valve tells it to do. The valve is just set wrong for the current gate.
Before troubleshooting anything electrical on a hydraulic system, do these things:
- Check the hydraulic fluid level. Low fluid causes sluggish, partial, or intermittent operation. The reservoir has a sight glass or dipstick. Top it off with the specified fluid from the operator’s manual. Not all hydraulic fluid is interchangeable.
- Check for leaks. Hydraulic oil leaves a residue. Look at the cylinder, the hoses, and the fittings. A weeping hose will eventually become a burst hose, and when a hydraulic line lets go on a swing gate, the gate can drop hard.
- Cycled test. Disengage the operator and move the gate by hand through a full cycle. If it’s noticeably harder to swing than it was a year ago, the hinge bearings are drying out or the gate is sagging. The hydraulics are overcompensating.
One genuinely important safety note: never loosen a hydraulic fitting or the relief valve while the system is pressurized. The oil can be under hundreds of PSI. A pinhole leak at pressure cuts skin. This is one of those repairs that looks simple and isn’t. If the hydraulic side of your operator is where the problem lives, that’s a service call, not a DIY afternoon.
When a Previous “Fix” Made Things Worse
We regularly arrive at properties in Citrus Heights where a well-meaning homeowner or handyperson has already attempted a repair, and the gate now behaves worse than it did originally. This is not a rare scenario. It’s maybe a third of our diagnostic calls.
The most common self-inflicted wounds:
- Force adjustments cranked to maximum. Sometimes the operator is stopping because of a real mechanical bind. The homeowner responds by turning the force limit all the way up so the gate powers through. Now the operator is being asked to muscle past a problem instead of reporting it. The bind gets worse. The motor runs hot. The gearbox wears prematurely. One day the gate opens so hard it bends its own track. We’ve seen it.
- Limit switches adjusted to mask a sagging gate. The gate doesn’t close all the way, so instead of fixing the hinge or the wheel, someone moves the closed limit inward. Now the gate reports “closed” while leaving a gap a dog can walk through. The access control system thinks the property is secured. It isn’t.
- Sensors bypassed instead of aligned. The obstruction beam gets tedious to align, so the wires get twisted together to complete the circuit permanently. The gate now closes on anything in its path. This is how children and pets get hurt. If you inherit a property and find the sensor wiring jumped out, fix it immediately.
- Wrong capacitor installed. A start capacitor with the wrong microfarad rating will spin the motor but not correctly. It may start the gate sometimes and not others. It may run the motor hot. The wiring diagram calls for a specific rating for a reason.
A specialist’s first task on a “previously repaired” gate is often to undo the previous repair before diagnosing the original problem. That requires knowing what the operator’s settings should be for the gate it’s moving, which is not printed on the side of the control board.
Obstruction Sensors and Safety Edges: The Misdiagnosis Capital of Gate Repair
No gate component gets replaced unnecessarily more often than the obstruction sensor system. Photo eyes, safety edges, and loop detectors all get swapped out when the real failure is alignment, wiring, or a mechanical bind. Let’s clear this up.
A photoelectric sensor system uses a transmitter and a receiver. One side shoots an infrared beam. The other side catches it. If anything breaks the beam, the operator stops or reverses. On most residential systems, the photo eye has two LEDs: one for power, one for alignment. If the alignment LED is off but power is on, the beam is missing the receiver. The sensor is not defective. It’s misaligned.
The fix is to aim the transmitter at the receiver. On some mounts, that means loosening one screw and moving the head half a degree. You may need to do this twice a year if the posts are set in soil that shifts. In Citrus Heights, clay soil expands when wet and contracts when dry. A gate post that was perfectly vertical in March is tilted a quarter-degree by October. The sensor misalignment follows the post movement. It’s not a mystery. It’s hydrology.
Safety edges work differently. They’re pressure-sensitive strips mounted on the leading edge of the gate. When the gate closes on something, the strip compresses and sends a stop signal. A failed safety edge usually shows one of two symptoms: the gate reverses constantly with nothing touching it (the edge’s internal switch has failed or the wire is pinched), or the gate closes without stopping despite the edge being compressed (the most dangerous failure, because the safety device is dead and the operator doesn’t know).
Testing a safety edge requires a multimeter and knowledge of whether the circuit is normally open or normally closed. If you don’t know which, don’t guess. A normally-closed edge wired as normally-open, or vice versa, bypasses the safety entirely while looking correct at a glance.
For gate systems tied to your property’s broader access control, a dead sensor means the gate is either useless (won’t close) or dangerous (closes on anything). Either way, gate installation and replacement of safety systems is not the time for guesswork. If your operator has been bypassed or your sensors are eight years old and original, a professional evaluation is the responsible move.
Common Mistakes to Avoid
- Replacing the operator before checking the easy stuff first. We’ve watched homeowners install a $900 operator when the original was fine and the GFCI was tripped. Work the decision tree before spending money. The cheap causes are common for a reason.
- Ignoring a gate that’s been getting slower for months. Gates rarely fail instantly without warning. A gradual slowdown is the operator telling you something is wrong. Waiting until it dies turns a maintenance item into a repair.
- Using WD-40 on gate hinges and rollers. It’s a solvent, not a lubricant. It cleans off whatever grease was there and leaves the metal dry. Use a proper grease on hinge pins and a dry lube on rollers and tracks. Citrus Heights dust sticks to wet lubricants and creates grinding paste.
- Adjusting limit switches to fix a mechanical bind. The bind is the problem. Hiding it by changing travel limits just means the gate stops before it hits the bad spot. The bind gets worse, and one day the operator can’t overcome it at all.
- Replacing photo eyes when the alignment LED is simply dark. Check power to the sensor first. Check wiring second. Check alignment third. Then, and only then, consider replacement. Most “bad” sensors are good sensors with bad connections.
- Programming remotes while standing too close to the operator. Some receivers desensitize when a transmitter is within a few feet. If your remote won’t program, step back twenty feet and try again. This one catches people constantly.
- Assuming a tripped breaker is a nuisance trip. Breakers trip for real reasons. If it trips again immediately on reset, don’t keep resetting it. You’re testing your fire insurance policy.
When to Call a Professional
Some gate problems are beyond what a homeowner should reasonably attempt. Hydraulic system repairs top that list, for safety reasons covered earlier. Control board diagnosis on commercial-grade operators like FAAC, BFT, and Viking is another: board-level testing requires knowing what voltages and signals should be present, and guessing wrong destroys the very board you’re trying to save. Any repair involving the safety system, including bypassed sensors, misaligned photo eyes that won’t hold alignment, or safety edges that no longer stop the gate, belongs in professional hands.
Also, if you’ve worked through this guide and the gate still isn’t behaving, you’re not failing. You’ve narrowed the problem. That’s real progress. Gate Repair Citrus Heights offers free estimates in Citrus Heights. Call (877) 752-5078, describe what the gate is doing and what codes it’s showing, and we’ll tell you what we’d check first.
Frequently Asked Questions
Most gate repairs in Citrus Heights run between $150 and $450 depending on the part and the labor involved. A capacitor replacement runs on the lower end. A control board replacement for a LiftMaster or FAAC operator runs higher, especially if the board is a commercial model. Gate Repair Citrus Heights home service area pricing is transparent: we quote the repair before we start work, and you’ll know the exact price before we turn a screw. Call (877) 752-5078 for a free estimate on your specific gate.
Same-day appointments are available for many repair calls in Citrus Heights, especially no-move failures where a gate is stuck open or closed. We schedule emergency calls by time of day and location, and we’ll give you a real arrival window when you call, not a vague “sometime this afternoon.” Reach us at (877) 752-5078.
We service nine major gate and operator brands including LiftMaster, FAAC, BFT, Linear, Viking, Ghost Controls, DoorKing, Elite, and Mighty Mule. If your gate has an operator not on that list, call us anyway. A specialist who sees nine brands has likely seen yours, and if we haven’t, we’ll tell you honestly rather than learning on your dime.
A complete gate installation includes the gate leaf or leaves, hinges or track system, the operator, the safety sensors, the control board, and any needed power run. We quote the full scope before starting, so the price you approve is the price you pay. Gate installation in Citrus Heights is one of our core services precisely because some repair calls reveal gates that aren’t worth saving. We’ll tell you if that’s the case.
Yes. A bypassed obstruction sensor or safety edge means the gate will close on whatever is in its path. These systems exist to prevent crushing injuries. If you bought a property with sensors already jumped out, get them restored before using the gate again, and keep children and pets away until they’re operational.
We handle both. Commercial-grade operators from FAAC, BFT, and DoorKing make up a significant portion of our repair work in Citrus Heights, serving property managers and businesses that can’t afford downtime on their entry gates. The same diagnostic approach applies whether your gate protects a single driveway or a forty-unit apartment complex.
The Bottom Line
Gate troubleshooting is a decision tree, not a checklist. Start with the manual disengagement test to separate mechanical from electrical problems. Work from the simplest failure point outward: power, fuse, capacitor, limits, sensors, board. Learn your operator’s blink codes and trust them over instinct. Never mask a mechanical bind with force adjustments, never bypass a safety device, and treat hydraulic systems with the respect they demand.
Most importantly, know the difference between a part and a diagnosis. A new capacitor fixes a hum. A recalibrated limit switch fixes a short cycle. A realigned sensor fixes a false reversal. The part is cheap. The diagnosis is the valuable thing. That’s what a gate repair specialist in Citrus Heights brings, and that’s what saves you from replacing a perfectly good operator the next time your gate won’t move.
Written by the team at Gate Repair Citrus Heights, serving Citrus Heights since 2018.
See the difference
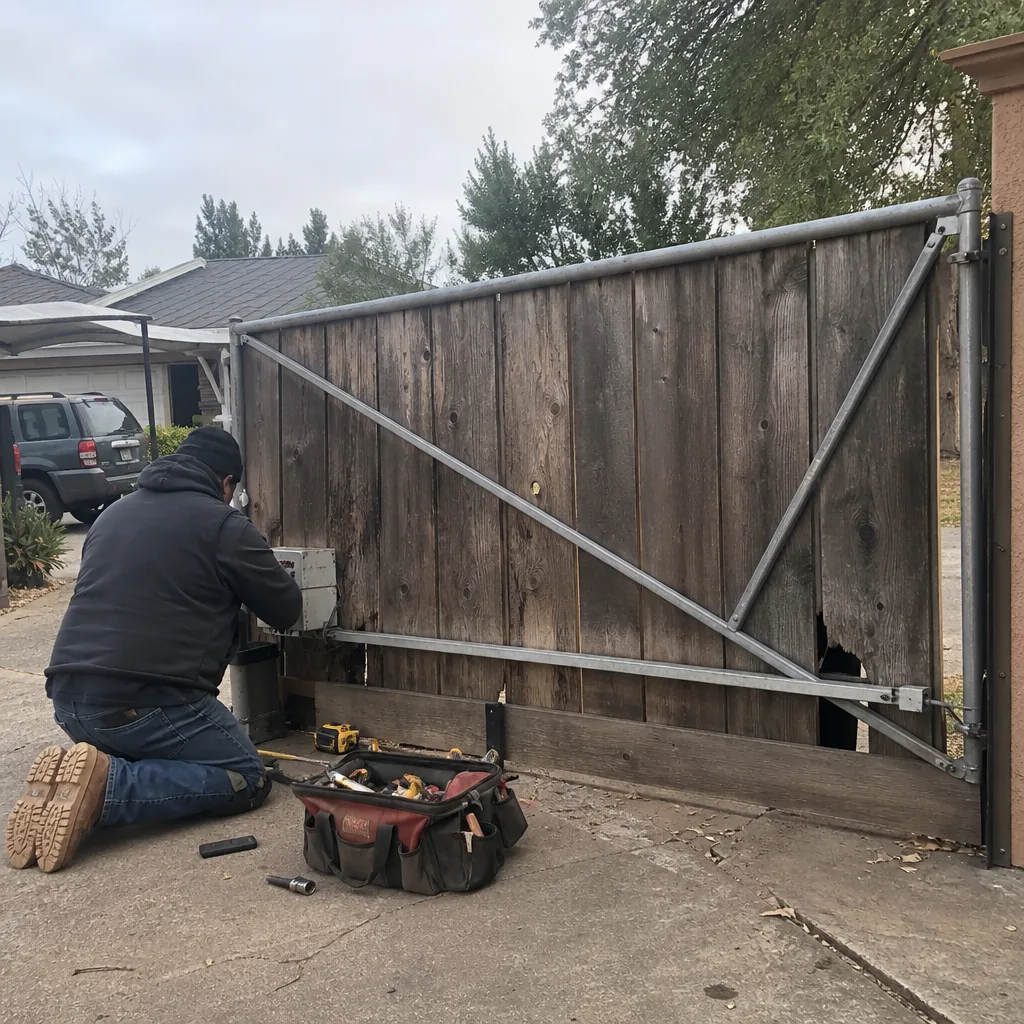 Before
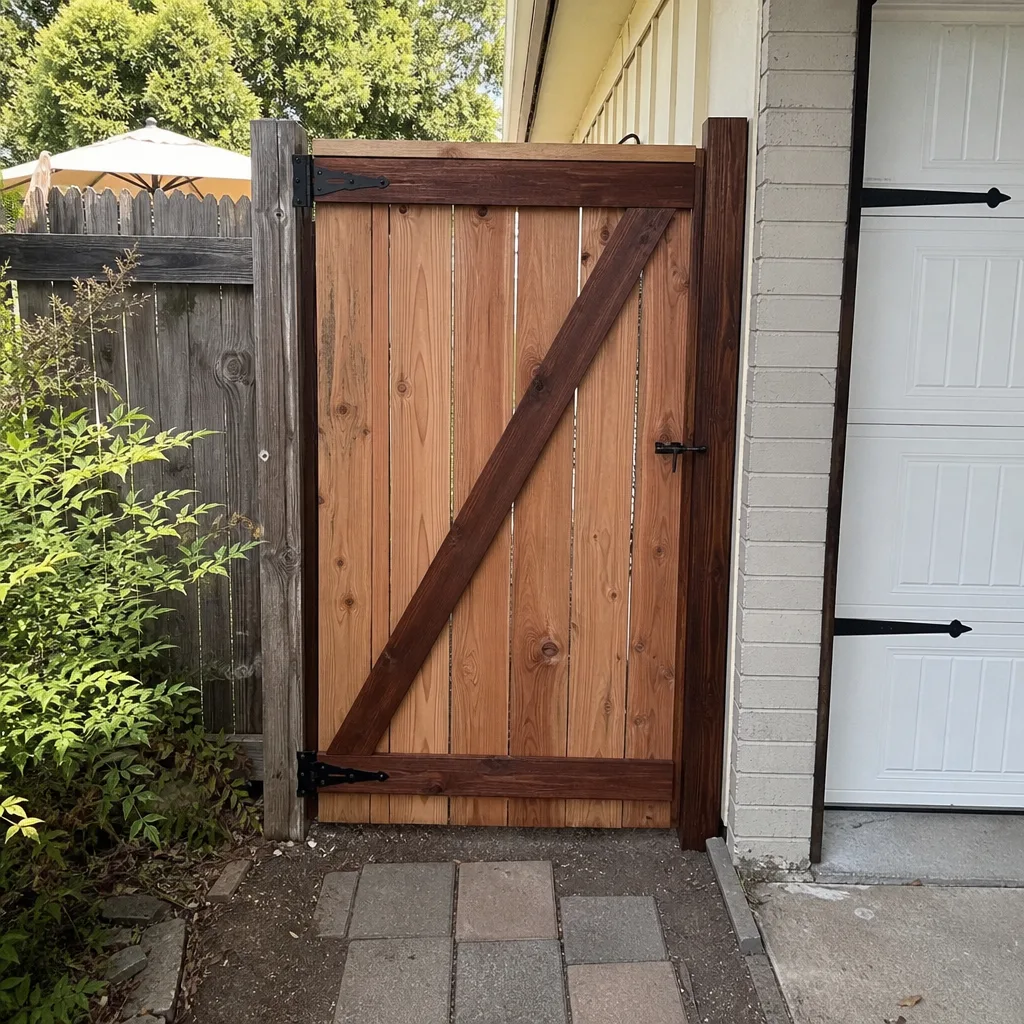 After
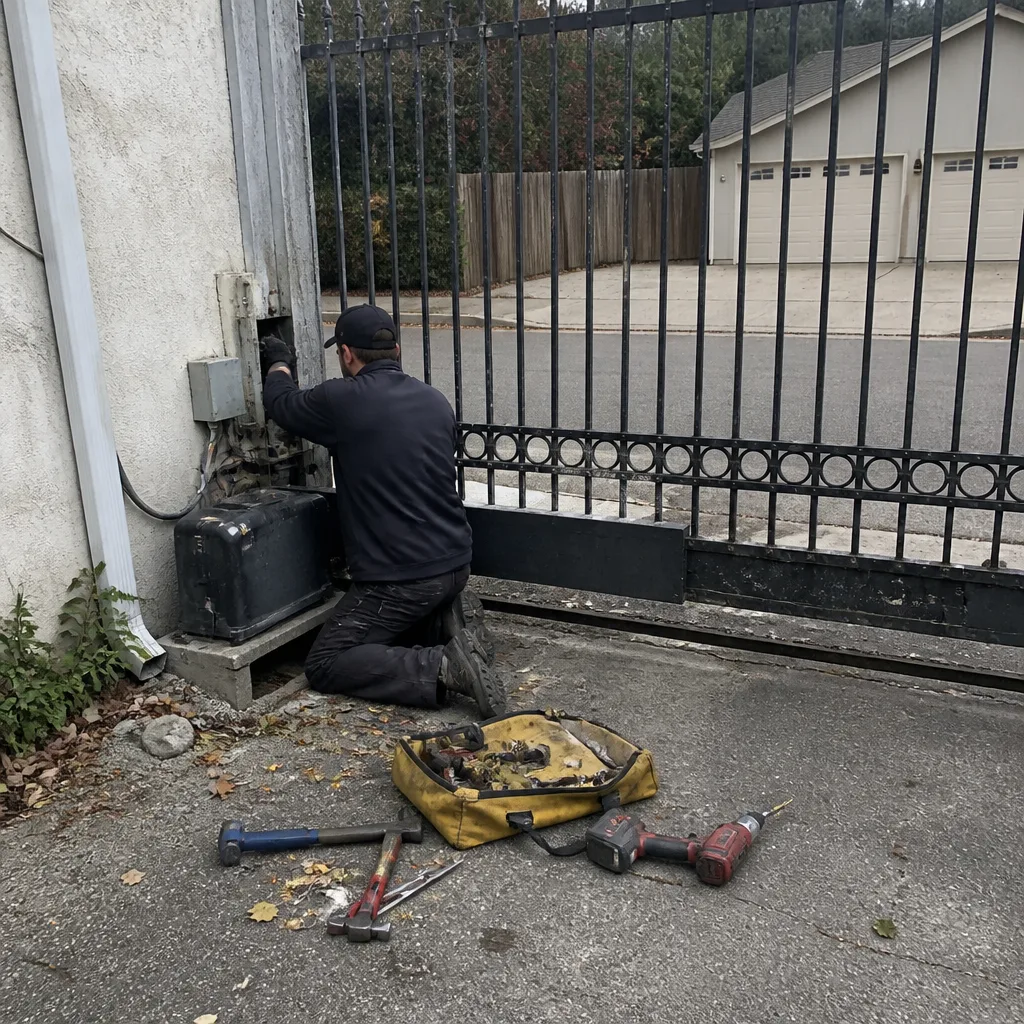 Before
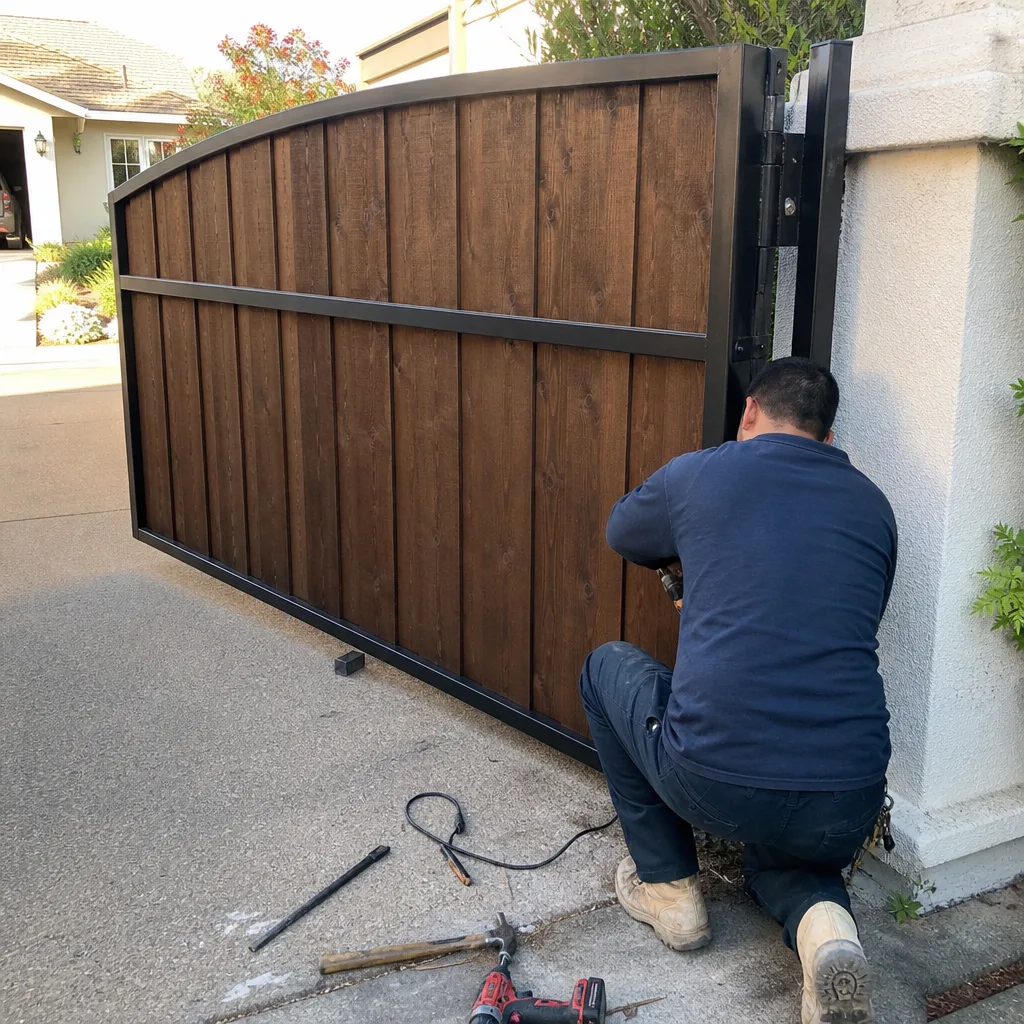 After
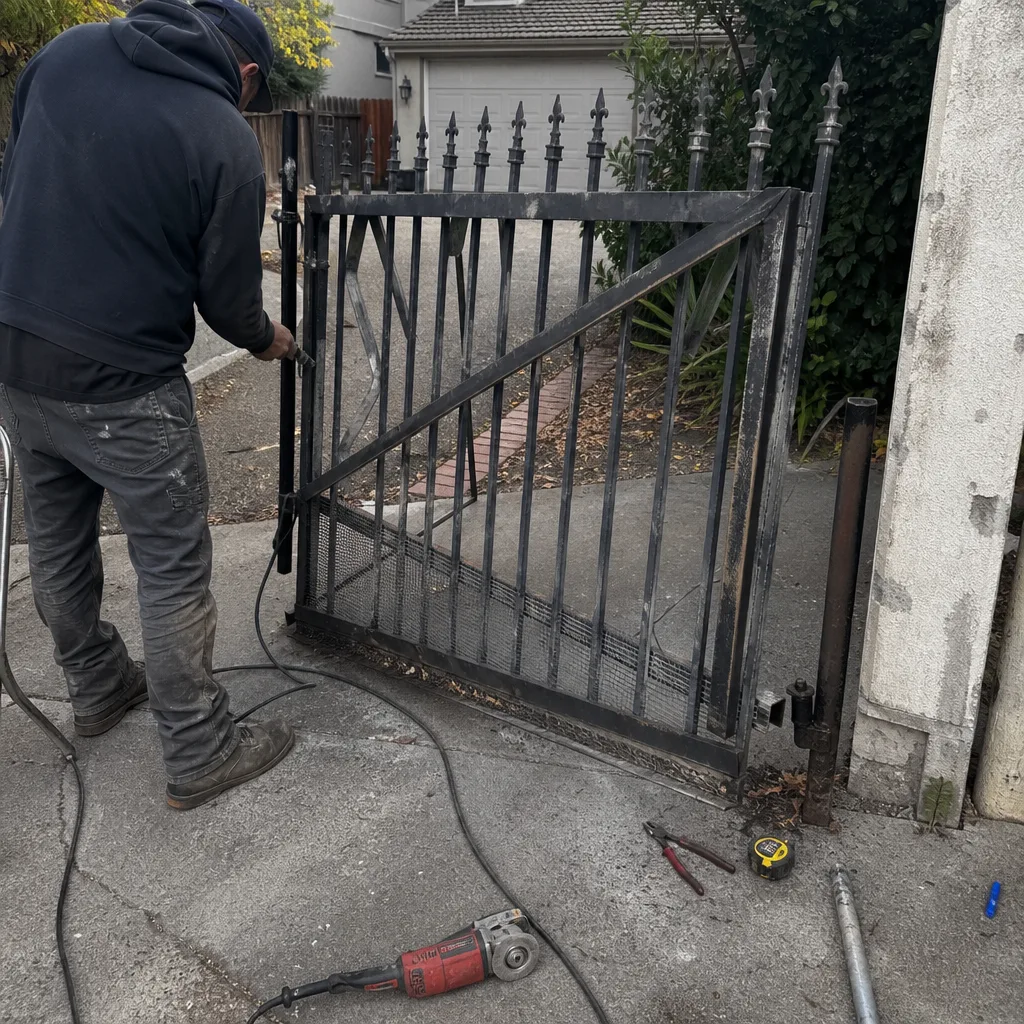 Before
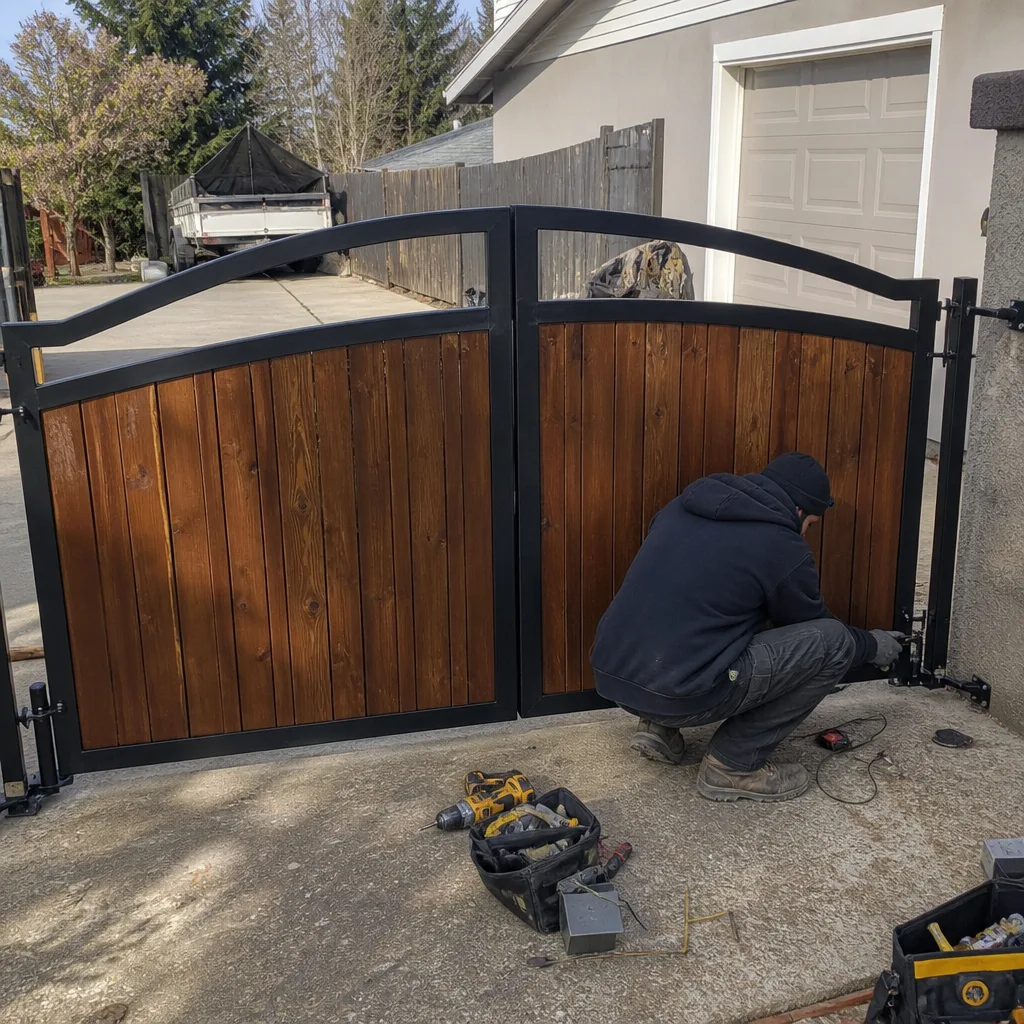 After